5 Using the Design Gallery Menu
You can use the Design Gallery features to enhance your captured images.
1.
While in
Playback, use to scroll to an image, then press .
2.
Use
to highlight Design Gallery, then press .
3.
Use
to highlight an option, then press and follow any on-camera instructions.
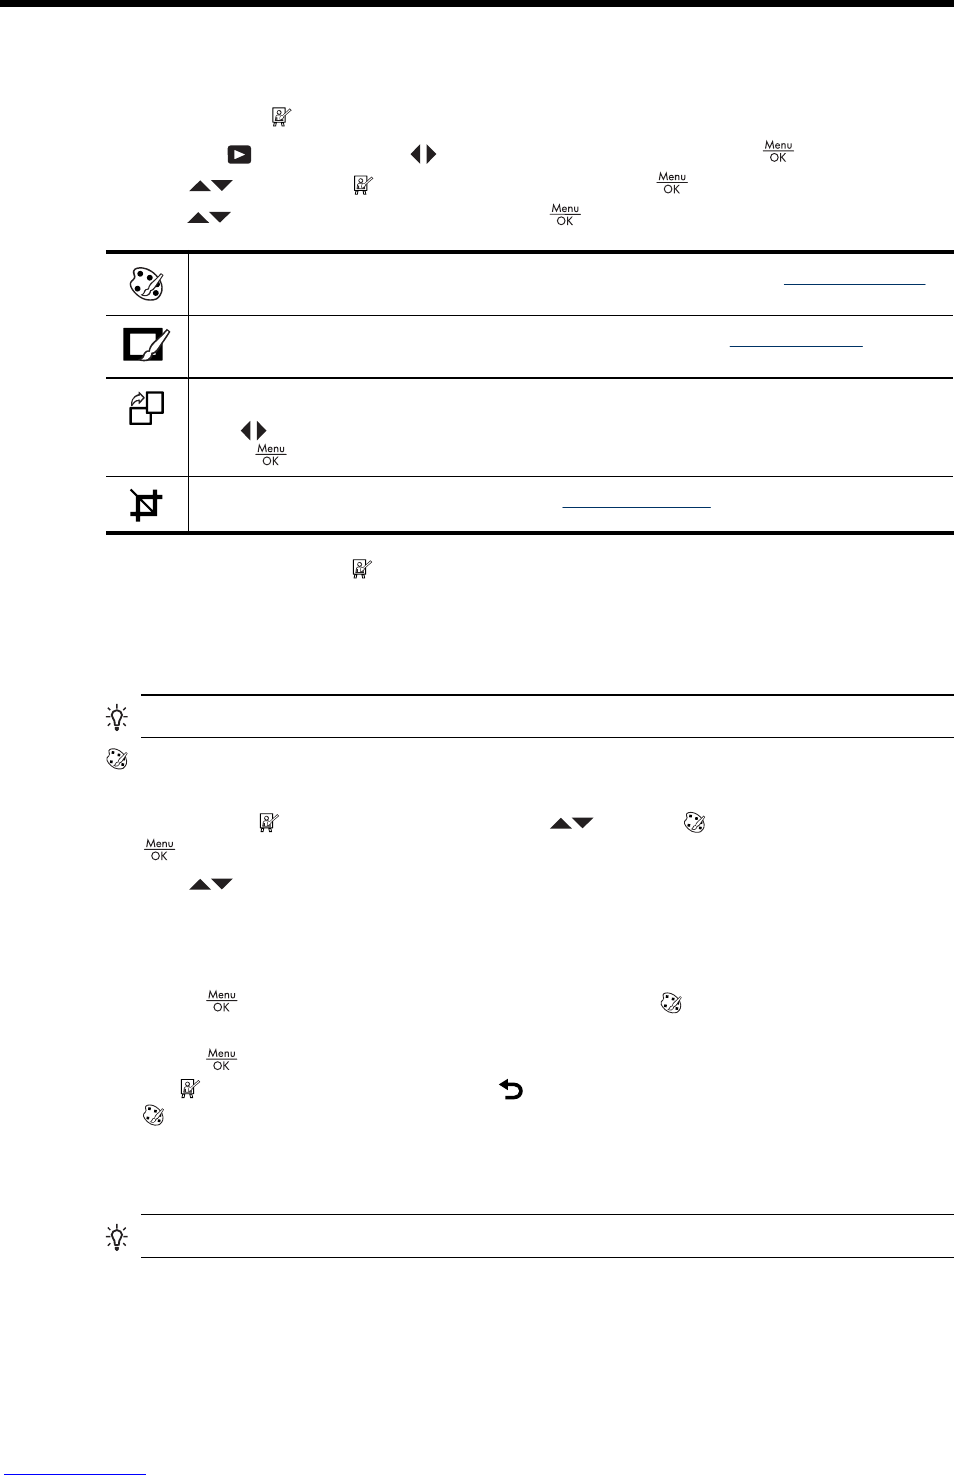
Modify Color—Allows you to apply a color effect to an image (see “Modifying colors”
on page 22).
Add Borders—Allows you to add a border to an image (see “Adding borders”
on page 22).
Rotate—Rotates images in 90-degree increments.
Use to rotate the image clockwise or counter-clockwise in 90-degree increments.
Press
to save the image in the new orientation.
Crop—Allows you to crop an image (see “Cropping images” on page 23).
Unless otherwise stated, Design Gallery effects are applied to a copy of the image;
the original image is retained.
Modifying colors
TIP: If you plan to modify colors, do so before adding a border.
Modify Color allows you to apply color schemes to the displayed image. To modify
colors:
1.
While in the
Design Gallery Menu, use to select Modify Color, then press
.
2.
Use
to select a color scheme and preview the effect it has on the image.
• Black & White—Converts color images to black and white.
• Sepia—Converts image to a brownish tone to look old-fashioned.
• B&W Tints—Applies color tones on a black and white version of an image.
3.
Press
to select the color scheme and display the Modify Color menu.
Follow the on-camera instructions to adjust the color.
4.
Press
to save a copy of the image with the specified color scheme and return to
the
Design Gallery Menu. Press to exit without saving and return to the
Modify Color menu.
Adding borders
TIP: If you plan to modify colors or crop your image, do so before adding a border.
22 Using the Design Gallery Menu